
Hardwood floor installation in your home will truly transform your living space into a place that you love. It will significantly add value to your home and enhance its aesthetic appeal in no time. At Dream House Home Improvement, we understand how much you value your living space, and that’s why we ensure top-quality hardwood flooring installation at your home. Whether you’re a DIY enthusiast or just want to understand the process, this guide will help you learn about all the key steps involved in residential floor installation.
Installing Hardwood Flooring: A Complete Guide
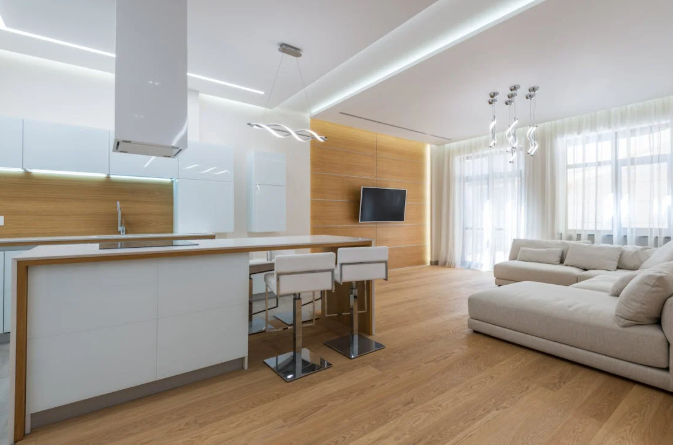
Transform your space from a boring-looking place into an architectural masterpiece by installing hardwood flooring.
Let’s dive into the steps involved in installing hardwood flooring in your living space.
Choose your Hardwood Flooring Wisely
Would you like to have regrets later after getting a flooring installation haphazardly? No, right? That’s why you need to make a wise choice while choosing hardwood flooring. There are numerous options available in the market for hardwood flooring, including engineered wood flooring, laminate wood flooring, and solid hardwood flooring. While you can have them installed in a DIY manner, solid wood floor installers are also available to assist you.
Read more to learn about other factors involved in hardwood flooring installation.
Acclimating Hardwood Flooring to your Home
As hardwood is a natural material, it expands and contracts in response to changing temperature and humidity conditions. Therefore, you wouldn’t want to see that your freshly installed flooring has gaps or has ruptured in some places; that’s why it’s crucial to acclimate your hardwood flooring to your indoor environment.
| Tips to Acclimate Your Hardwood FlooringAfter purchasing, place your hardwood planks in the desired location for installation.Remove any packaging and let the flooring boards get some air circulation.Let your hardwood flooring rest for 3 to 7 days to allow it to acclimate to the environment. |
Remove the Existing Flooring
If you’re considering wood floor replacement, it’s time to remove the existing one and prepare the floor for the installation of hardwood flooring. For that, you may use a prybar to scrape out the existing baseboards. If you encounter any asbestos-containing components in the existing baseboards, you should seek out flooring contractors near me for expert advice.
However, if your floor requires hardwood floor refinishing, carefully strip the old finish with the aid of a chemical stripper and get new hardwood refinishing in no time by searching for ‘hardwood floor refinishing near me’.
Plan Your Flooring Layout
Planning the layout is often considered a waste of time, but it’s a vital step that ultimately leads to a durable and top-quality installation of hardwood flooring. Planning the layout of the flooring involves measuring the room’s size and determining the direction of the floorboards.

First, measure your room’s length and width to determine the amount of hardwood flooring you need. If you have any closets, measure them separately to determine if you have enough boards for proper coverage. Secondly, choose the direction in which you want to place the boards on the floor.
| POINTS TO PONDER! If your room is square, consider the direction of natural light entering the room and place the wooden boards parallel to this direction to minimize gaps or damage. If there’s a long wall in the room, you can install wooden boards parallel to that wall to make your room appear larger. |
Install the Underlayment and Flooring
Although underlayment installation isn’t strictly necessary, it substantially contributes to the quality of your flooring, offering a wide array of benefits. The underlayment reduces the noise, eliminates any subfloor imperfections, increases the lifespan of the flooring, provides cushioning, and offers moisture protection and thermal insulation.
| Pro Tip: Although installing an underlayment isn’t necessary, consider doing so if your budget allows or when getting hardwood floor repair. |
Finishing and Transition Pieces
Once you have finished installing hardwood flooring on the subfloor and reached the end, face nail it as close to the wall as possible. If you encounter any holes, you can fill them with any matching wood putty or cover them with a baseboard piece or shoe moulding to avoid hardwood repair or hardwood floor restoration later.
And here you go, hardwood flooring installation is complete, and you may enjoy it for as long as possible. However, don’t forget to keep up with the regular maintenance it requires if you wish to avoid calling professional wood floor installers regularly.
Conclusion
Now that you are entirely aware of all the steps that center around hardwood flooring installation, it;’s time for you to gather up the material and tools you need if youre a DIY enthusiast, but if you don’t want to get into the mess and enjoy a convenient flooring stress-free, call hardwood refinishing near me to get the convenient, durable and professional flooring.
FAQs
Is it durable to have hardwood flooring installed?
Hardwood flooring is a durable option for your flooring as it’s known for its longevity; if it’s properly taken care of, it can last for many decades.
What are the benefits of hardwood floors?
Hardwood flooring is a durable and sustainable choice, offering high curb appeal, ease of maintenance, and health benefits.
What is the cost to install wood flooring?
The underlayment offers improved quality of your flooring, although it’s not mandatory, but have it if your budget allows.
Should hardwood floors be nailed or glued?
Hardwood floors can be either nailed or glued, depending on the type of flooring. However, for concrete floors, hardwood floors must be glued.
Where aren’t hardwood floors installed?
Hardwood flooring shouldn’t be installed in bathrooms and laundry rooms, as these areas are prone to moisture and water that can damage the hardwood flooring.